7 Overlooked Facebook Power Editor Features That Will Save You Time
If time is money, are you maximizing where you spend your time? Put simply, are you choosing to work on the most important tasks to move an account forward?
I’ve found that many Facebook marketers are guilty of slow campaign set up because they rely on the Ads Manager. The interface burns through a lot of time that could have been used thinking strategically about how to move the account forward.
For those unfamiliar with Facebook’s Ads Manager, it would be like setting up campaigns in the AdWords interface rather than using AdWords Editor. Ads Manager is great for small tweaks, but for full campaign builds, marketers should utilize Power Editor.
Even within Power Editor, I’ve noticed marketers not taking advantage of all the available features that could save even more time. Therefore, I will be sharing often overlooked time-saving features so you can spend more energy on the tactics and strategy.
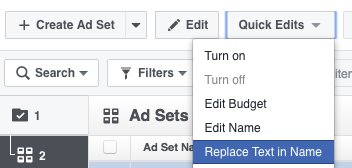
1) – Find And Replace
Finally, a “Find and Replace” option in Power Editor! We’ve only seen this feature available in a few accounts, which probably means Facebook is testing it or slowly rolling it out. Either way, we hope it’s here to stay.

Now you can easily duplicate and rename campaigns/ad sets/ads rather than having to manually rename each one. For example, we set up an iOS app install campaign with 36 ad sets each containing 2 ads. Because of this feature, we easily duplicated the campaign and renamed all the 36 ad sets and 72 ads in less than 2 minutes within the interface.
2) – Split Audiences
Another cool feature that marketers aren’t taking full advantage of is the “Split Audiences.” If you’re targeting 18-65+ then it’s time to stop and get more granular. I can guarantee your performance is different by age and gender. Some segments will have better results and some will have poor results. It’s just the nature of people based marketing.
To locate this feature, navigate to your ad sets and select one. Then click on the button next to the duplicate and you’ll see “Quick Duplicate” and “Split Audiences.”

Click on “Split Audiences” and you should see a new window like this one. From here, you can split your ad set audience by age range and/or gender.
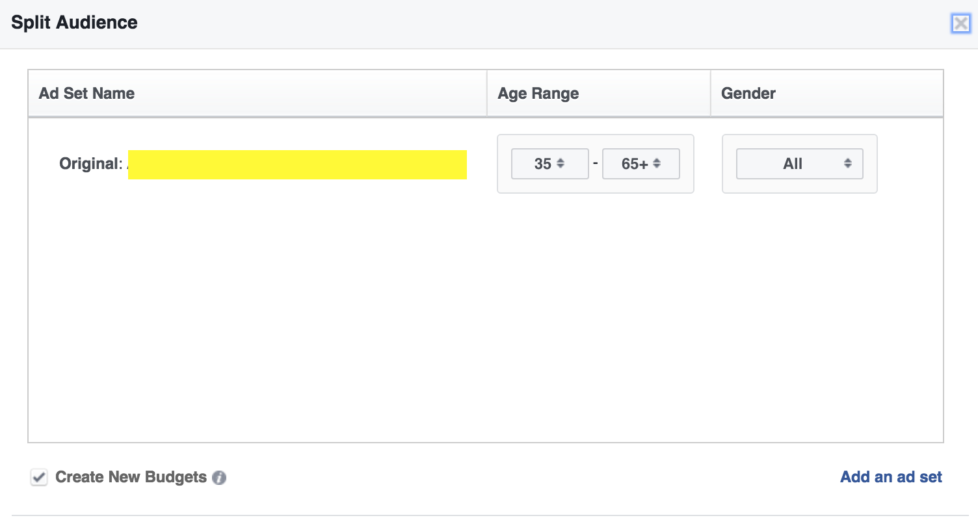
Click on the add an ad set in the bottom right to start splitting up the audience and creating new ad sets at scale.
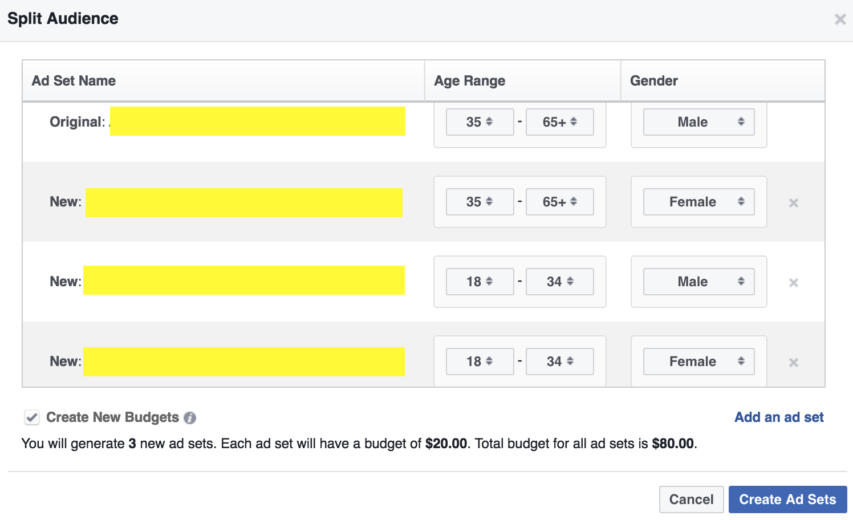
This could be your magic bullet for creating new ad sets at scale and save you a ton of time in the process.
3) – Scalable Naming Conventions
One of the thorniest issues amongst PPCers (especially agencies) is campaign naming conventions. In other words, what relevant information should be contained when we name our campaigns. I highly recommend coming up with your own naming convention and sticking with it. It’s wise to create one for Facebook campaigns too. If you’re struggling to know if you have a solid naming convention then ask yourself, could someone understand what’s happening in this campaign if I got hit by a bus?
If you’re unsure of where to start with your Facebook campaigns then you’re in luck, because they’ve made the process super simple. Start by selecting an ad set or ad you want to rename. Then under the “Edit” tab click on “Edit Name.”
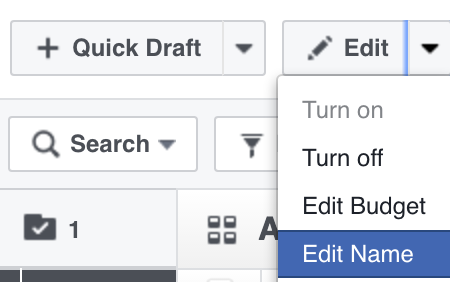
From here, you can begin to add in available fields to set up your naming convention. Experiment with the fields and if you don’t see what you’re looking then add a custom text field to the mix.
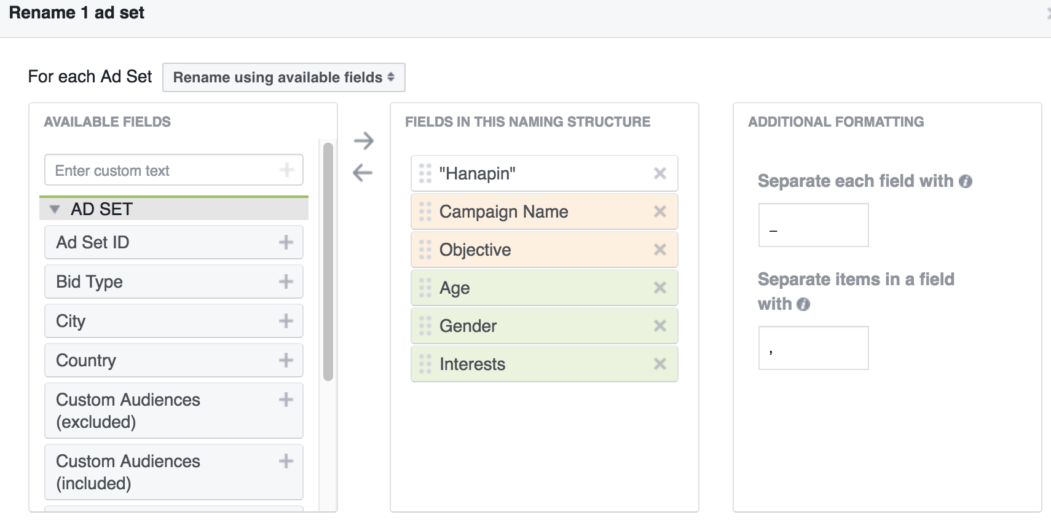
In the example above, we added a custom field to include “Hanapin” at the beginning of every ad set name. This helps us quickly identify our ad sets versus the client’s when pulling reports. Next, we added in campaign name, objective, age, gender, and interests (targeted) so at a glance anyone can easily see the objective and targeting for this ad set.
Besides saving you and your team a lot of time, Facebook’s renaming feature also has a few other benefits.
- Efficient – Spend less time thinking about your naming. Make sure every campaign/ad sets/ads have the same naming scheme.
- Recognizable – Anyone can look at it and understand what’s going on
- Scalable – Create a process that can be easily replicated and accommodate growth
- Reporting – Implement a standardized method that makes reporting in Excel easier
4) – Analyze Performance Insights
This feature is highly overlooked by many marketers who work in Power Editor all the time. After you select a campaign/ad set/ad, look to the far right and you’ll see a pencil, bar chart, and cube (see below). Click on the bar chart to access the performance metrics.
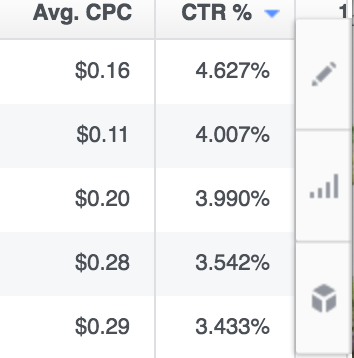
From here, you’ll be able to select which metric you want to plot. For this example, we wanted to analyze the CTR of a mobile-only ad set versus a desktop ad set. Below is an example of that information produced.
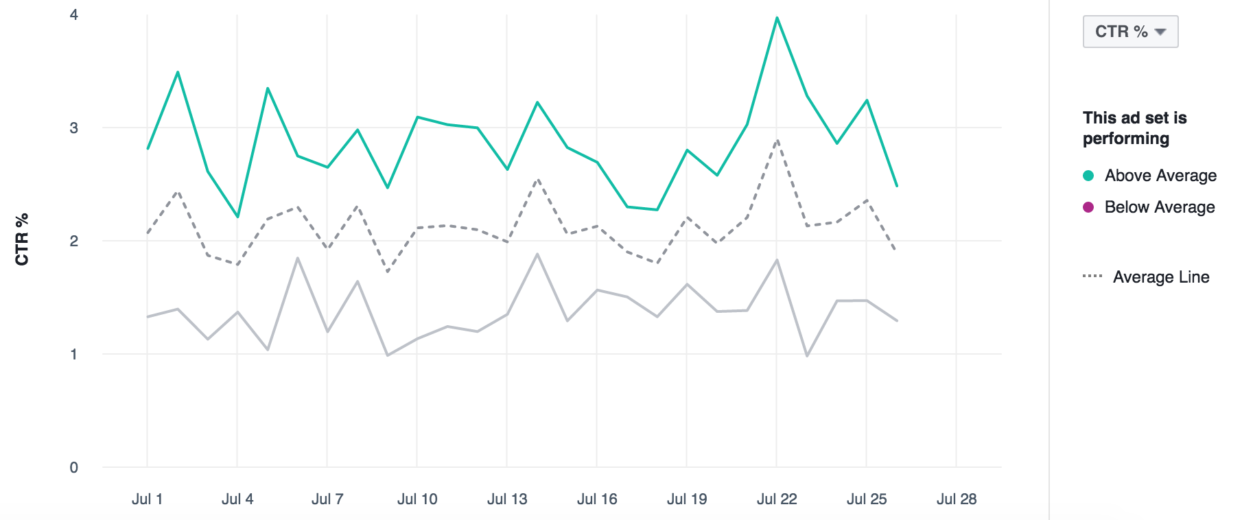
With this feature, you no longer have to download the data, pivot it in Excel, and make a line graph. Depending on how fast you are in Excel, this tactic probably saves you 10-15 minutes.
There are some pretty cool performance insights that can be gained just by utilizing this feature. Another chart I like to create is comparing multiple campaigns by certain metric. In this example, I’m analyzing five different campaigns by CPA.
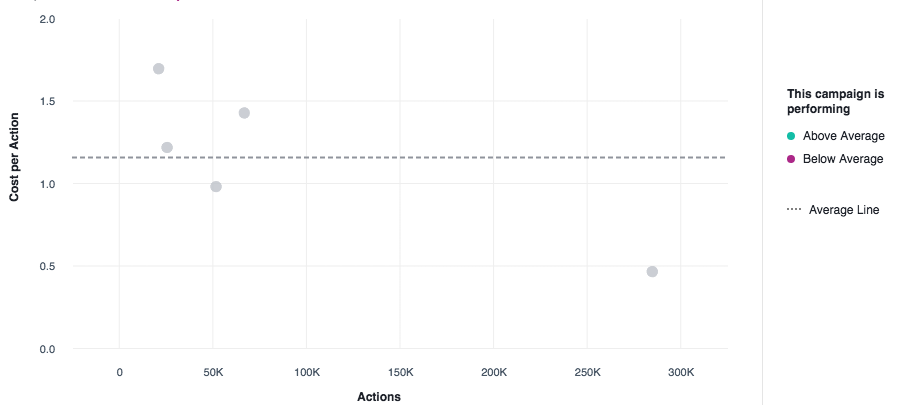
With this graph, it’s easy to find the high performing campaign and the campaigns that are performing above average.
5) – Rejected Ads
Have you ever launched new campaigns with over 100 ads going live? If you have then you know it can be tricky to ensure that all your ads are approved and running. What if you could quickly see all your ads that got rejected?
You can in Power Editor. Navigate over to your filters and scroll down under “Ad Delivery” to find, and then selected “Rejected.”
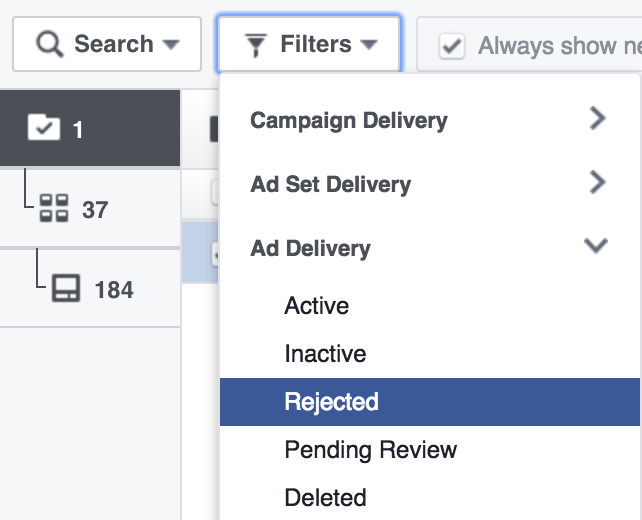
If you don’t have any rejected ads then good for you, because you’ll see the no results found screen.
If you do have ads that were rejected you can quickly see which ones and work to fix them. Consider adding this filter into your weekly optimizations just to make sure you’re catching and responding to any rejected ads.
6) – Campaign Tags
Campaign tags are another feature that marketers need to take more advantage of. They’re essentially the same thing as labels in AdWords. I’m a huge fan because you can use tags to organize your ad campaigns into groups and make them easier to find. This feature is great for agencies who share their ad accounts with clients and for marketers who love to catalog their campaigns.
Start by selecting the campaigns you want to create a tag for. Then click on the “Campaign Tags” button up by the “Create Report” button.

Now you’re ready to begin creating tags that make sense for your campaigns.

Once you’re done creating tags you can search for campaigns by tag.
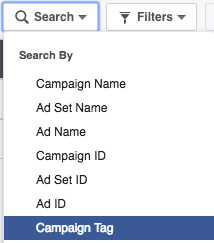
I like using Campaign Tags to make finding certain campaigns much faster, especially for larger accounts that have thousands of campaigns. Talk about time savings!
7) – Only See The Metrics That Matter
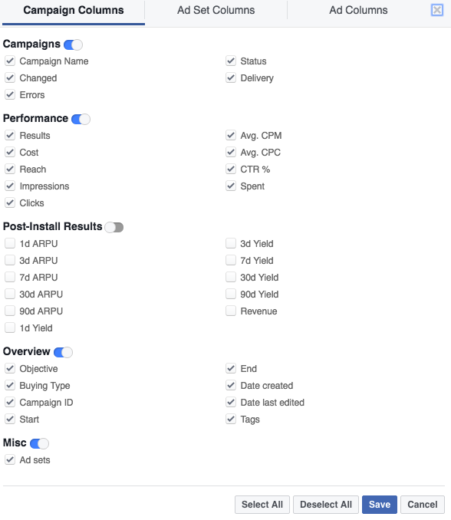
If you’re spending any time in Power Editor you may have noticed many unnecessary metrics in the main interface, causing you to scroll to the right to find the ones you’re looking for. By default, Facebook reports on every metric available
Save time by only looking at the metrics that matter the most to your account.
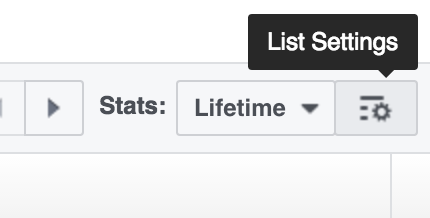
Next, you’ll see a screen showing that every metric is check marked. From here you can select only the metrics that are important to your campaigns, ad sets, and ads.
Now only the relevant metrics will display, saving you time.
Conclusion
Hopefully, you’ve become a Facebook Power Editor master user with these seven features. These features should free up your time to think more strategically about how you can move the account forward, which will make your boss, client, and your company/agency happy. What features do you like to use to save time? Reach out on Twitter (@jdprater) to let me know.


